Thus, you can make a video of what is going on your device for a proper report. This is by learning how to record your windows 10 screen. Screen record is the best way to resolve a problem you have on your Windows, Mac, Linux, Android, or iPhone. Why the best?
In other words, it is a way to clone what is ongoing on your device. By the way, there are several reasons why people want to make an onscreen video of what is happening on their phones or Windows/Mac.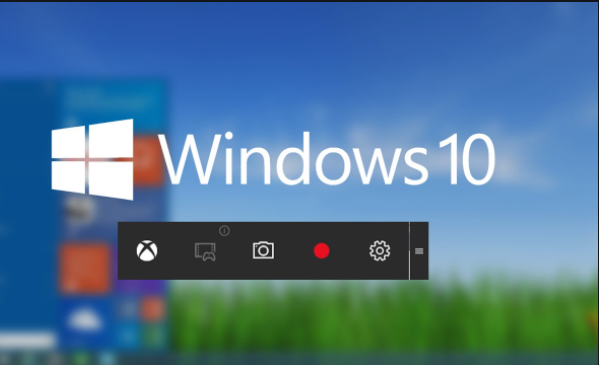
Of course, that was a common example that we gave you to get your mind. Other reasons may include; the purpose of sharing the project as a tutorial.
Again it could be an archive for you to demonstrate better how you resolved a task or whatever.
In as much as this is an onscreen record, it will as well store as a video file so that you can do whatever you want to do with it.
Are you ready to make archive and resolve technical problems or make a tutorial? Then you should be booting your device for an onscreen record.
Meanwhile, on this page, we will show you how you can make an onscreen record of your Windows; that is your PCs, also, Mac, Linux, Android, and iPhone.
How to Record Your screen
Firstly, here is the outline for the devices you can make screen record of:
- Windows
- macOS
- Android
- iPhone or iPad
- Linux
How to Record Your Windows 10 screen
Windows onscreen record differs as regards the version of the windows.
That should not border you because we got you covered for Windows 10 and 7. Let’s see what they are all about then.
Do you make use of Windows 10 PC? Then you already have an in-built tool for recording your screen. In other words, there is no need to install any program.
So, you are going to use the GameDVR tool to make a quick record. As much, this tool can record any application, down to game as well, irrespective of the tool name.
Over to Windows 7 users
If you make use of this windows version, then we have the proper software for you. Thus, the OBS; which is Open Broadcaster Software. It is a good one for your onscreen record.
Here, while you want to capture your desktop or multiple windows at once, you will insert watermarks, embed a video of your webcam.
As you can see, there are more features here compared to GameDVR. Guess what? This is free and as much, it’s an open-source tool.
Meanwhile, this OBS is very good for video game streaming on Twitch.tv, in as much as it provides a professional video of your desktop.
Also, there is another tool that can give you professional treatment. Thus, it comes with editing features, but then, you will pay.
Camtasia is what am talking about. But, to make use of this tool, bear in mind that you will pay well. In addition, check out for the free trial before you buy, that is a whole lot of money.
How to Record Your MacOS screen
If you have MacOS device and wish to make an onscreen record, just know that there is an in-built tool for that.
Of course, you can use this to monitor activities going on your phone when you have it in the hands of your friends.
The Quick Time application is a powerful tool for doing this.
To record your Mac’s screen,
- Click the Quick Time software and tap file, following by” New Screen Recording.”
- Point to the menu beside the record button and select if you will capture audio on your microphone in the video. If Yes! Then you should go on to allow it on. What this does is combine the audio record with the onscreen video. So, you see now that it’s good for making a tutorial.
- Once you are on QuickTime record, it minimizes to a small icon on the right side of your menu bar, while the record is captured.
In Addition, OBS and Camtasia will as well work here for your screen record, in case you need a professional video editable.
How to Record Your Android screen
What you may see here may look different. In other words, Android is slightly different based on the methods it records on screen.
Here, you will need to download an app for screen recording features.
For instance, a great one is the AZ Screen Recorder. The app is mind-blowing because it enables users to make choices of video quality. In addition, you can make voice records only, and add a watermark.
AZ screen recorder is very good but it’s monetized. So, you should get to pick a plan after you install it from the play store.
Moreover, this has no free version. Above all, this app is very easy to handle.
How to Record Your iPhone/iPad Screen
This is very easy to do because it is already an in-built feature of the iPhone or iPad.
If you have not configured your iPhone before now to 11 versions or above, then you should so you can do this easily.
To do this, launch your home button.
- Open the Settings app.
- Select customize controls
- A list of applications is what you will see next on your screen.
- Navigate down the page and select the cross signs on “screen recording”. Once you have done that, screen recording will be added to the category you find below your home screen.
- Now, click on the home button
- Scroll from bottom to top to bring out the hidden features
- Find the icon in form of two circles nested and click on it. From that moment, your phone will start recording after a count of 3.
Linux
In as much as there are few sources of screen-recording application for Linux, RecordMyDesktop is an easy-going one.
You can install it from Ubuntu Software Center or pull it from the Linux distribution’s package manager.
Once you get it installed, open it to start recording. Firstly, select the type of video/audio quality levels.
You can as well decide where you want the video record to concentrate on. In other words, you can make it a full-screen record or a port of your desktop.
Also, you can do live streaming rather than screen records.